Building your final year project can feel like a huge task, especially when you’re juggling classes, assignments, and deadlines. But with the right approach, it can become one of the most rewarding parts of your academic journey. In this post, we’ll guide you from start to finish — from coming up with a solid idea to seeing your system live and running.
The best projects solve real problems. Instead of picking generic titles like “Online Library System,” think about challenges in your community, your university, or even within your own routine. The more relevant your problem is, the more interested your evaluator will be. Once you’ve identified a core issue, narrow it down to a manageable solution that can be built within 1 to 3 months.
After settling on a problem, visualize how the solution should work. Is it a mobile app? A web portal? A smart system powered by AI? This decision shapes the entire tech stack. For example, if you're building a mobile app, React Native or Flutter may suit you. For a data-heavy web app, something like Node.js and MongoDB could work great. Don’t overcomplicate — choose what you can manage based on your existing skills or what you're willing to learn.
One of the biggest mistakes students make is skipping early documentation. Even a simple 1-2 page outline can save you hours of confusion later. Include your project title, objective, modules you’ll develop, expected users, and basic features. This outline will evolve into your official documentation later, so it's time well spent.
Use free tools like Figma to sketch your screens before you start coding. What will the login screen look like? What features should be on the dashboard? Designing these in advance helps you stay focused and reduces rework. At the same time, plan out your database — define how your data will be stored and how tables or collections are related. This step is crucial for apps that rely on user data or admin dashboards.
Don’t rush to build everything at once. Break your work into phases or modules. For example, begin with the user login, then move on to creating the admin panel, and later work on reporting features. After finishing each module, test it properly before moving to the next. This saves you from last-minute panic and ensures your app works smoothly.
If you feel stuck or unsure about your ability to build the project on time — don’t panic. You're not alone. Hundreds of students every semester outsource their projects for peace of mind and better quality.
We at FYPHelper specialize in helping final-year students build high-quality, supervisor-approved software projects. Whether you need full development, documentation help, or just a little guidance, we’re here to help. Book a free consultation today and let’s make your idea a reality.
Once your core modules are complete, it’s time to test everything. Use your app or website like a real user would. Try wrong passwords, empty fields, edge-case inputs, and different screen sizes. It’s better for you to find bugs than your supervisor.
Now that the system is working, prepare your final report and presentation. Include your problem statement, system architecture, technology stack, screenshots, testing evidence, and a future scope section. Your slides should tell a story — don’t crowd them with text. Keep it visual and clean. Practice your viva with friends or teammates to boost confidence.
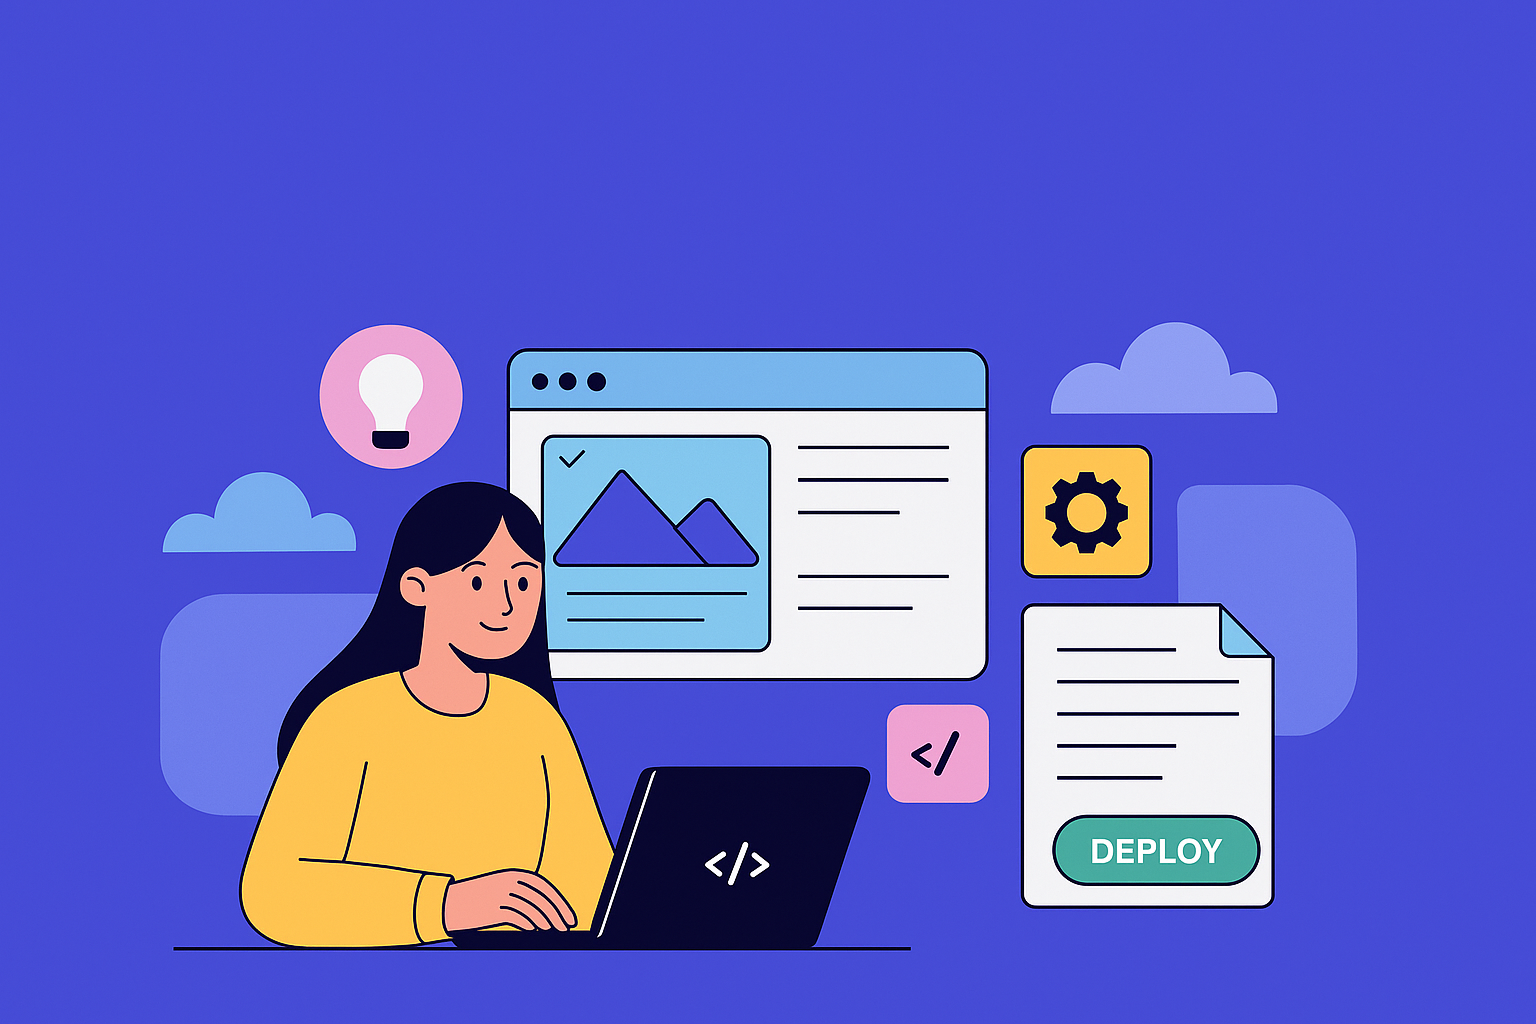
Hosting your project online not only makes it easier to demonstrate but also adds weight to your portfolio. For web projects, you can use Vercel or Netlify for free hosting. Mobile apps can be exported as APKs and shared with your examiners or teammates.
Your final year project is your chance to prove your skills, creativity, and problem-solving mindset. Take it seriously, but don’t be afraid to ask for help when you need it. Whether you build it on your own or work with a trusted development partner like FYPHelper, what matters most is delivering something meaningful, functional, and well-documented.
Want to discuss your idea or need help right away? Contact us now and let’s build something amazing together.